この記事ではアニメーション作りが初めてと言うあなたに静止画像から、単純なアニメーション動作づくりを(GIF画像)説明しています。
イラストを描いたから、せっかくなら動かしてみたい、表情をつけてみたいと思ったことはないですか?
アニメーションとなると少しハードルが上がるかと思うかもしれませんが全くそんなことはありません。
もちろん映画やゲームのような動きが多く、動作が激しいアニメーションは難しいです。
しかしキャラクターをもぐもぐさせたり、腕を上下に動かすような単純な動きならイラストが5~6枚、多くても10枚程度あれば十分です。
まずは一枚のイラストを有料アプリ『clip studio pro』を使って画像の作り方を説明します。
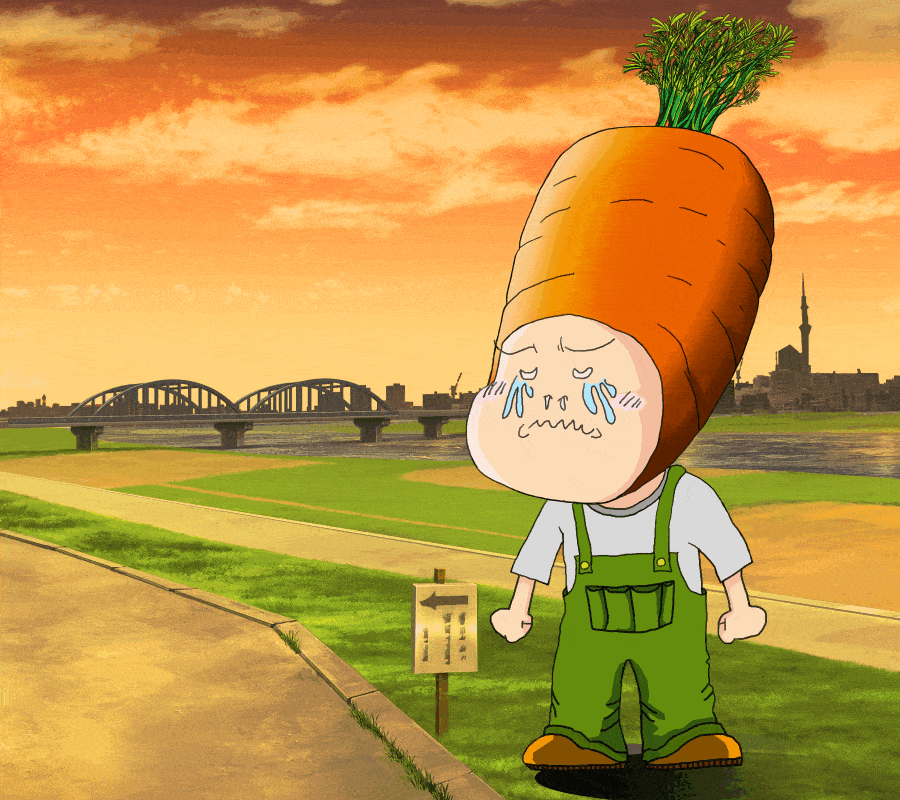
 やっさん
やっさん
『clip studio pro』一枚のイラストから動きをつけたGIF画像の作り方①(超初級編)
①もぐもぐ超初級編

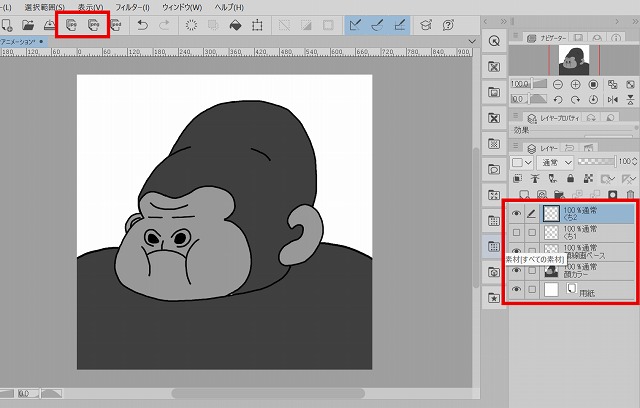
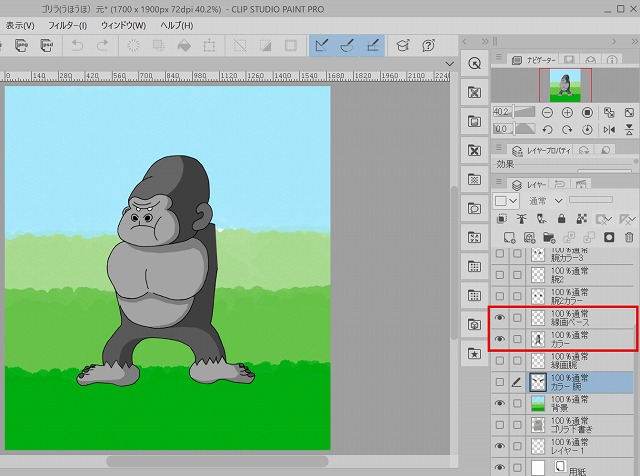
まずはベースとなるイラストが有るという前提で説明いたします。
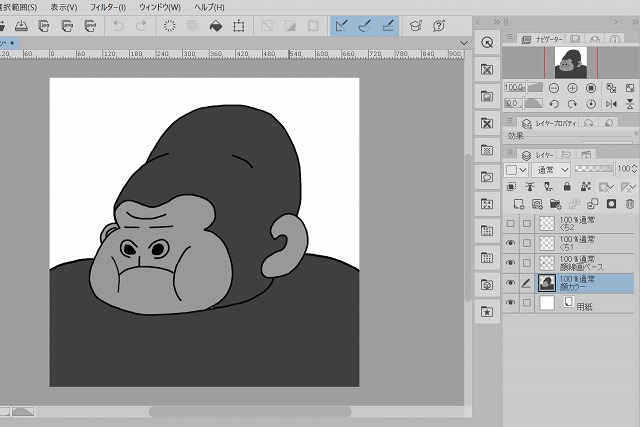
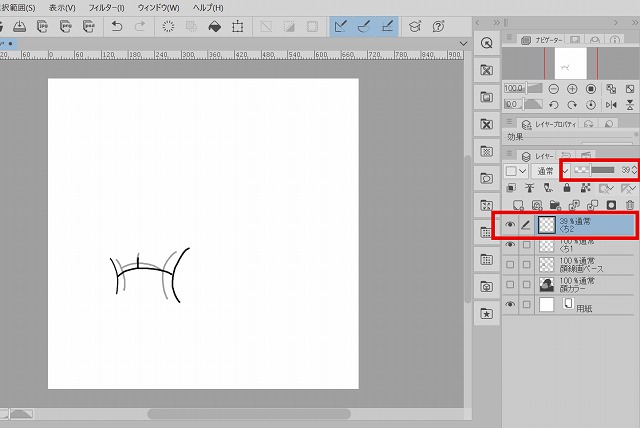
この時にベースとなる『顔線画ベース』『顔カラー』もぐもぐさせる『くち』はレイヤーで分けると作業が簡単にできます。
なぜレイヤーが上の写真のような順番かと言いますと、上の画像の様にレイヤーというのは上から重なって構成されています。
つまり、輪郭の黒ふちではみ出したカラーをかぶせるというイメージです。
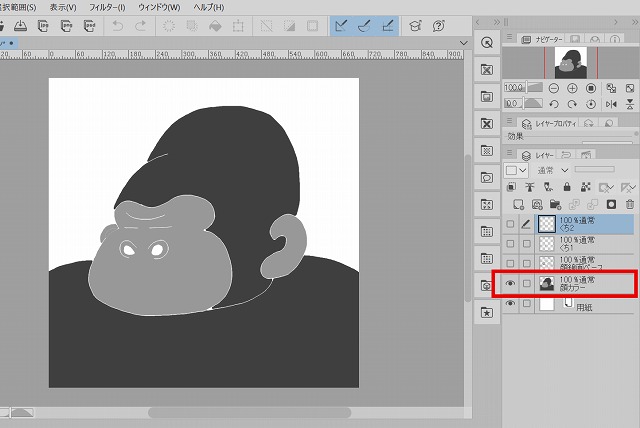
くち1は別レイヤーで作成しています。
くち2も同様に別レイヤーで作成しています。
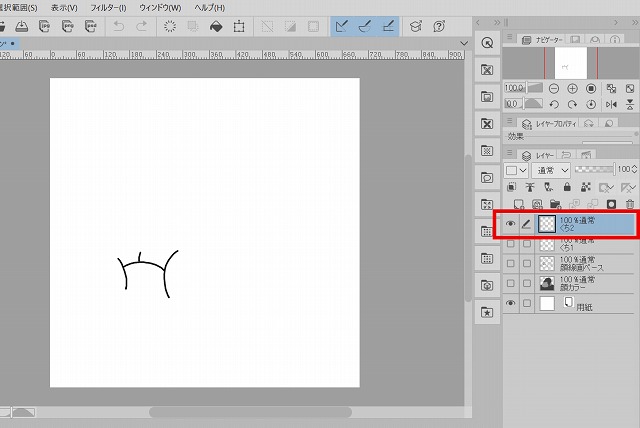
レイヤーの作り方と名前は特に決まりは無いですが、それぞれの部分で分けると後からの修正が簡単になりますよ。
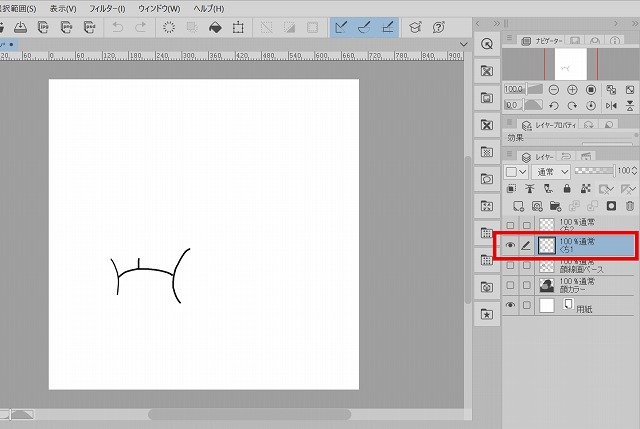
くちの動かし方
では、次にくちをどうやって動きをつけるのかをより詳細に説明します。
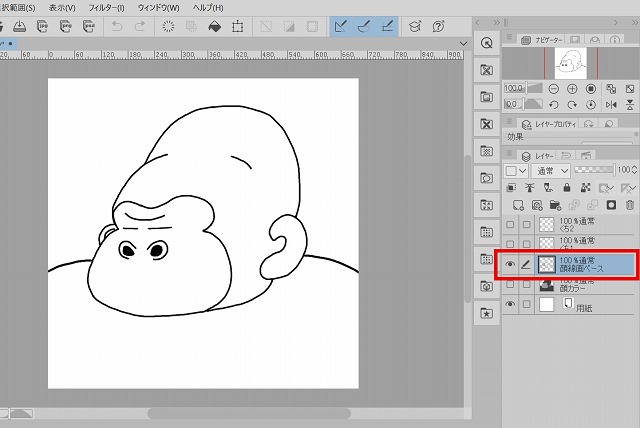
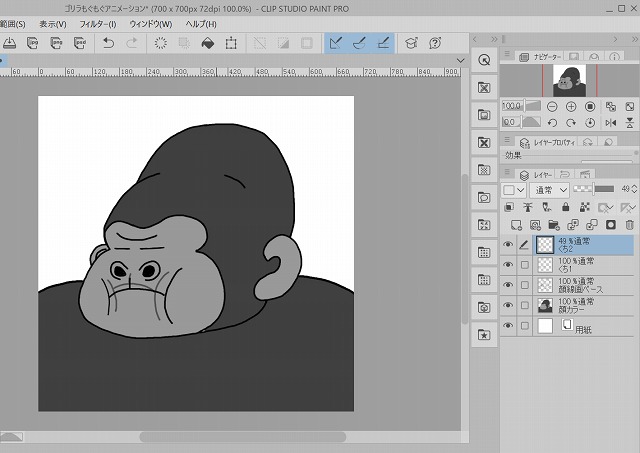
まずベースのイラストにレイヤーで「くち2」を追加します。
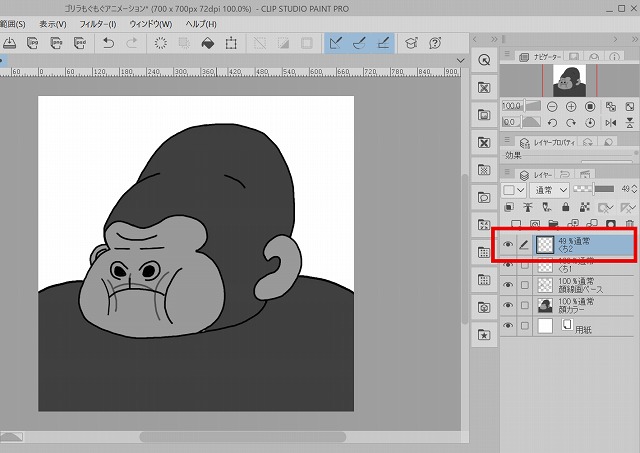
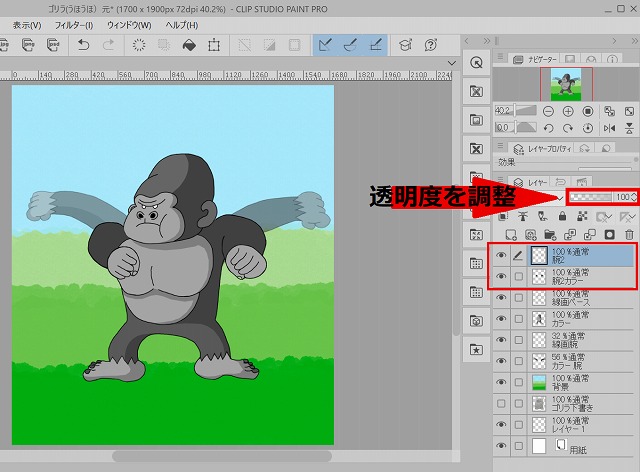
この時に「くち②レイヤー」を透明度30~50%にすると動きの違いがよく分かります。
が、作業が終了した時に透明度100%に戻すのを忘れないで下さい。
「くち①レイヤー」より少し上にちぢめた感じで「くち②レイヤー」に書き加えます。
頬も少しうえに書き加えるとよりいっそう動いている感じがでますよ。
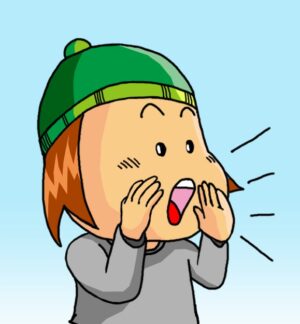
 やっさん
やっさんJPEGまたはPNGでの保存方法
「くち②レイヤー」を見えなくしてJPEGまたはPNGで保存します。
この時に動きをつける時に順番が分かりやすい様に例えば『ゴリラ①』という様に数字をつけて保存してください。
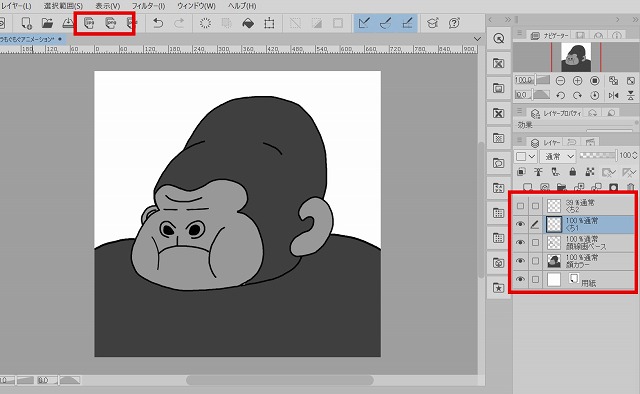
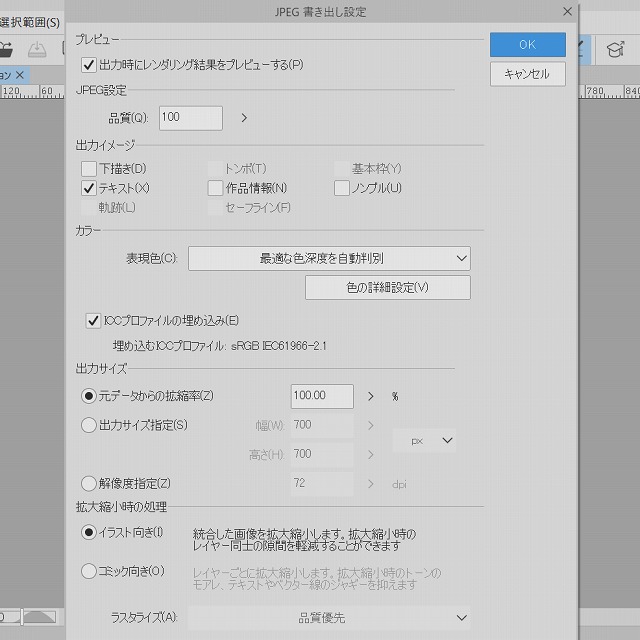
次に「くち①レイヤー」を見えなくしてJPEGまたはPNGで保存します。
この時も『ゴリラ②』という様に数字をつけて保存してください。

それぞれ2枚の画像を保存出来ましたら、画像加工編集サイトbannerkoubou(banner工房)に移動します。
1枚目を選択をクリックし、先ほど作成した『ゴリラ①』を選択します。次に2枚目を選択をクリックし、『ゴリラ②』を選択します。このような感じで10枚目を選択まで『ゴリラ①』『ゴリラ②』『ゴリラ①』『ゴリラ②』の順番で選択します。
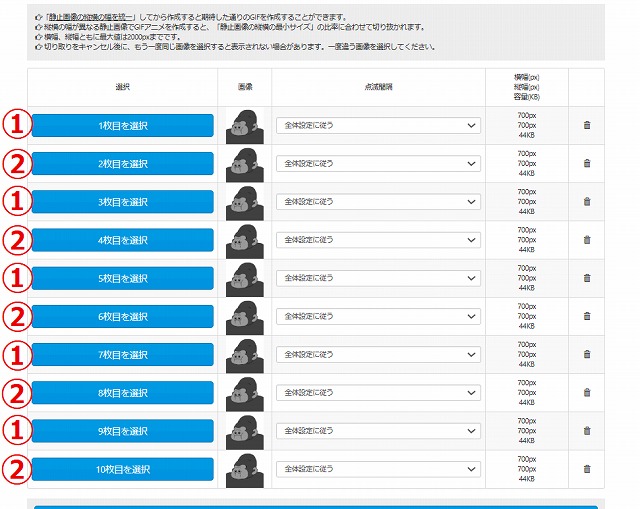
最後にGIFアニメを作るをクリックし出来上がった画像を確認し、よかったら保存で終了です。
『clip studio pro』一枚のイラストから動きをつけたGIF画像の作り方②(応用編)
②応用編
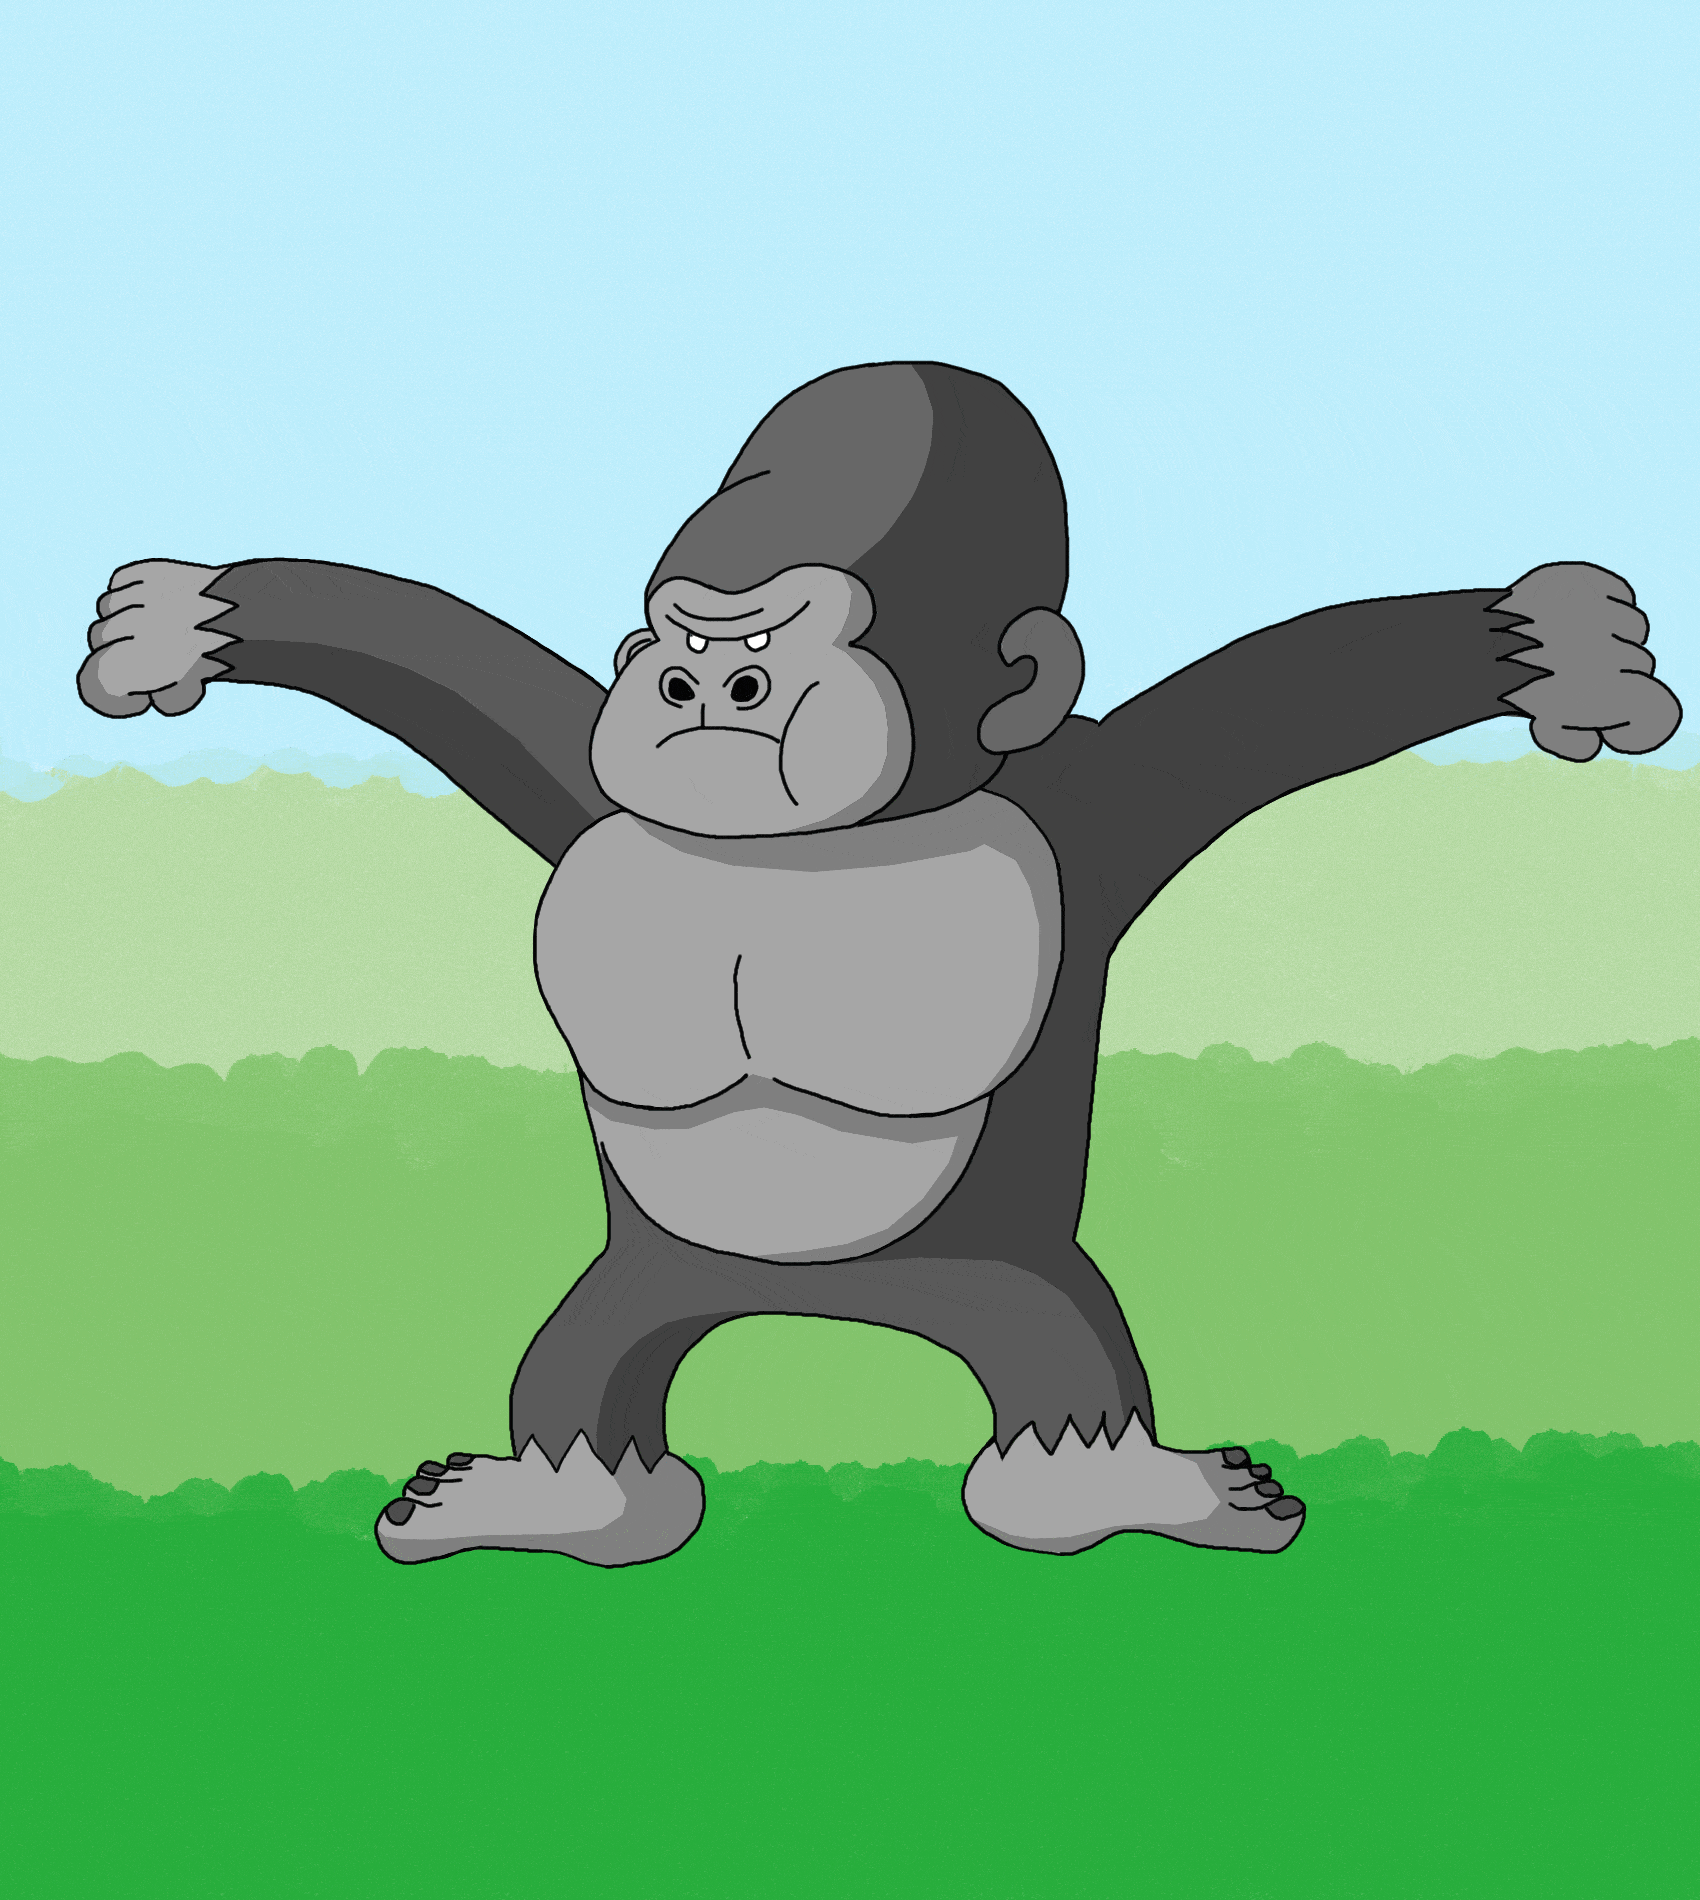
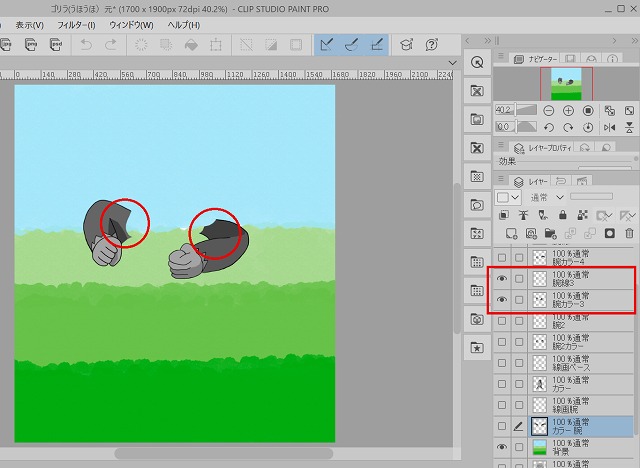
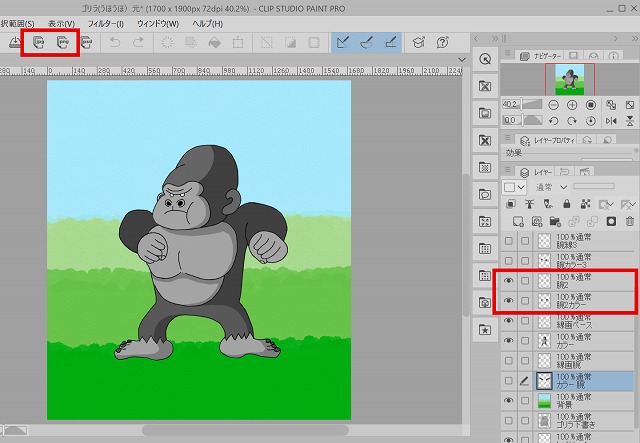
元なるイラストを作成します。この時もレイヤーをゴリラの体(線画ベース、カラー)と腕(線画腕、カラー腕)と背景でレイヤーで分けて作っていいます。
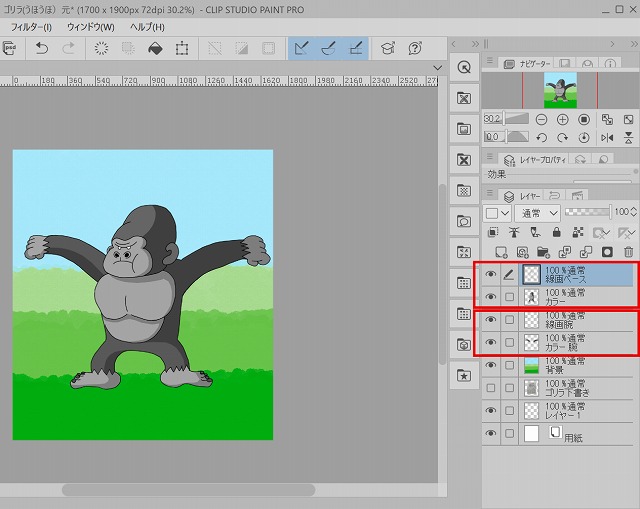
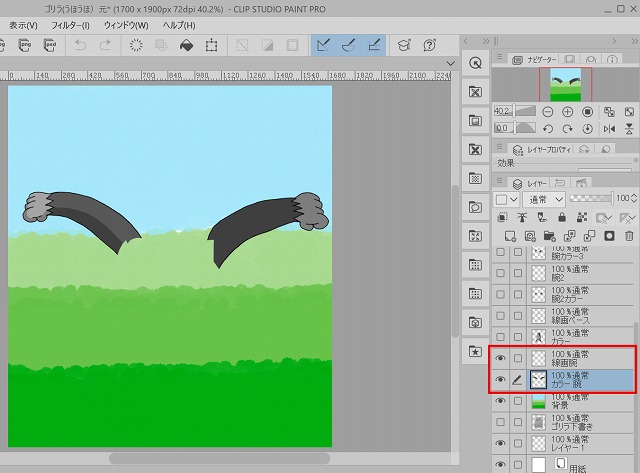
次に腕2と腕2カラーのレイヤーを作成します。この時に腕(線画腕、カラー腕)の透明度を50%以下にして腕2を作成すると動きがイメージし易いと思います。
腕3も同じ様に腕と腕2をの透明度を50%以下にし、多少のカラーと線画の継ぎ足しや修正を繰り返しながら作成すると動きがイメージし易いと思います。
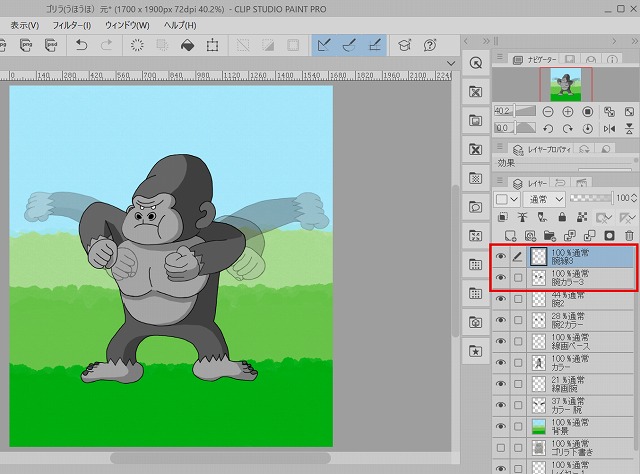
腕4も同様に胸をポコポコ叩いている動きをイメージしながら作成していきます。
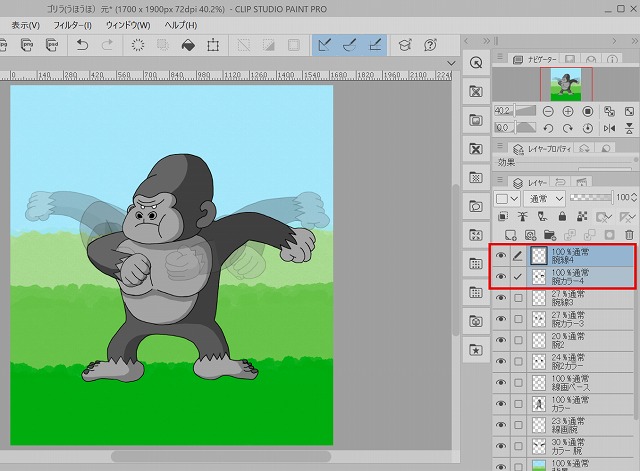
腕5も同様に胸をポコポコ叩いている動きをイメージしながら作成していきます。
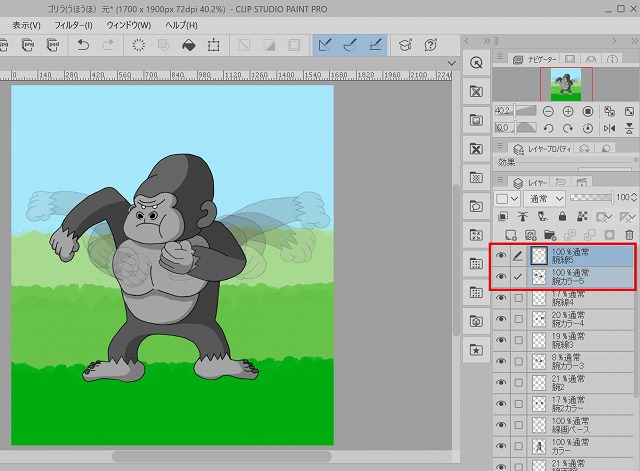
ある程度の腕の動きが完成しましたら、各レイヤーごとに表示させjpg(JPEGU)またはpng(PNG)で保存してください。
この時に数字を順にふって保存すると間違わなくなります。
やっさん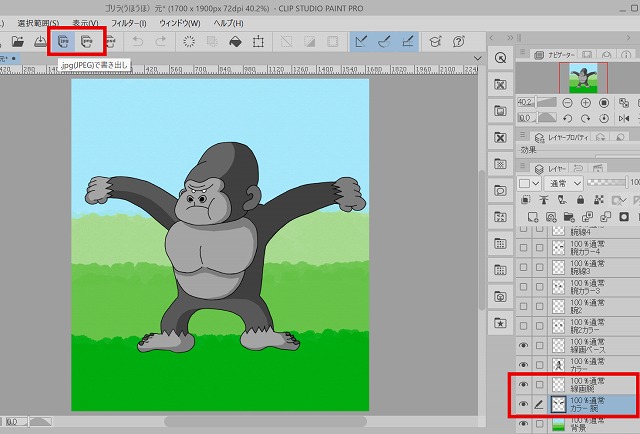
腕2から腕5まで同様に各レイヤーごとに表示させ保存してください。

それぞれ画像を保存出来ましたら、画像加工編集サイトbannerkoubou(banner工房)に移動します。

初級編と同様に1枚目を選択をクリックし、先ほど作成した『ゴリラ①』を選択します。次に2枚目を選択をクリックし、『ゴリラ②』を選択します。このような感じで10枚目を選択まで『ゴリラ①』『ゴリラ②』『ゴリラ③』『ゴリラ④』『ゴリラ⑤』の順番で選択し、最後にGIFアニメを作るをクリックし出来上がった画像を確認し、よかったら保存で終了です。
まとめ
1枚の静止画から数回の加工で2~5枚の静止画をつくり単純なアニメーション作りを解説しました。
これらの応用を使って画像を増やしたり目をパチパチさせる動きや口をパクパクさせる動き等も追加出来ますので色々とチャレンジしてみてください。
最後まで読んでくださってありがとうございました。
コメント